


How to Use TIG Welding Torch?

In the world of metalworking where extreme precision is paramount, the TIG welding torch (Tungsten Inert Gas welding torch) stands as an indispensable "magic weapon" for craftsmen and professionals. It delivers clean, high-strength welds on stainless steel, aluminum, and other metals—especially ideal for applications demanding exceptional weld aesthetics and quality. Mastering the correct use of a TIG torch is key to unlocking high-quality welds. This guide will walk you through efficient and safe operation of this precision tool.
I. Preparation: Safety & Equipment Checks are Foundational
Thorough preparation is essential for success and safety.
Safety First: Full Protection
Protective Gear: Always wear an auto-darkening welding helmet (DIN 10 or higher), flame-resistant welding gloves, and a welding jacket/apron to shield skin from UV rays and sparks.
Ventilation: Ensure adequate workspace ventilation or use a fume extractor to remove harmful gases and smoke.
Fire Prevention: Clear flammable materials from the area; keep a fire extinguisher nearby.
Equipment Setup & Inspection
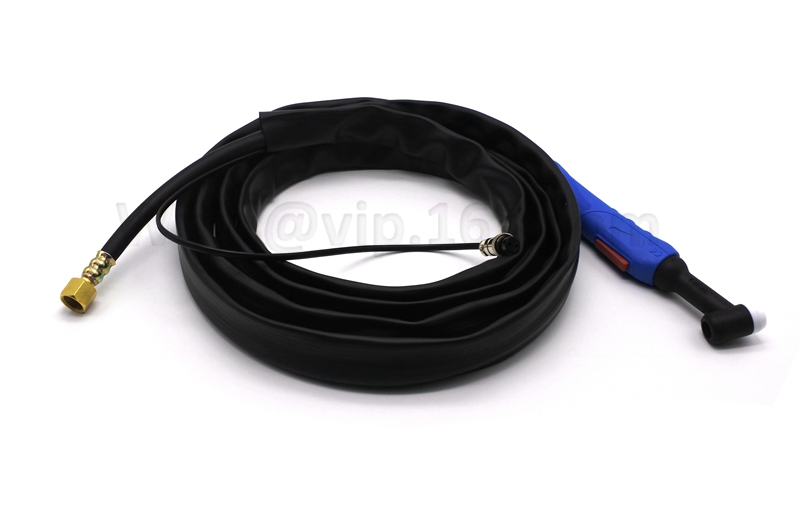
Secure Connections: Check all connections—welder, ground clamp, TIG welding torch, gas/water lines (if water-cooled)—for tightness and leaks. Ensure sufficient inert shielding gas (typically argon) and smooth gas flow.
Tungsten Electrode Prep: Select the right tungsten type (e.g., Thoriated/Ceriated for aluminum, Ceriated/Lanthanated for stainless steel) and diameter. Sharpen the tip correctly (pointed cone for DCEN, balled for AC) using a dedicated grinder, grinding parallel to its length.
Filler Rod Selection: Choose filler wire matching the base metal’s composition and diameter.
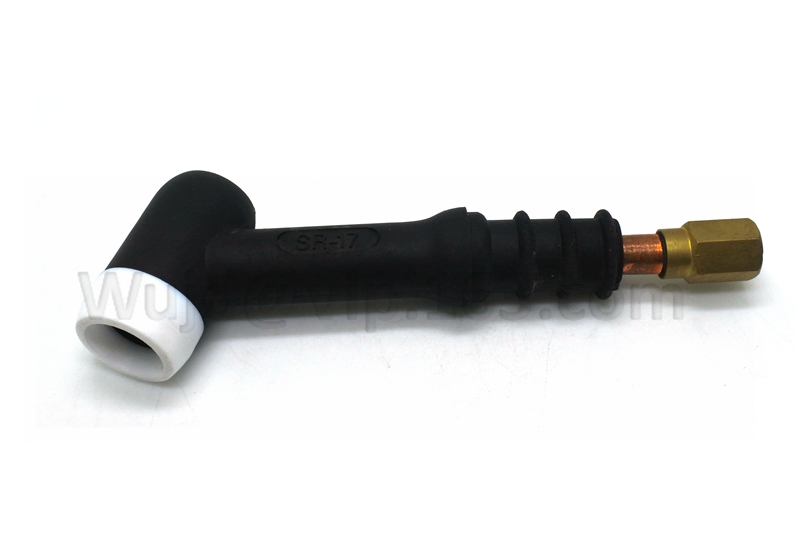
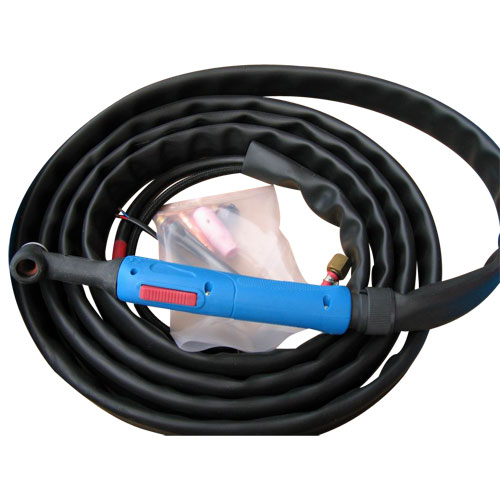
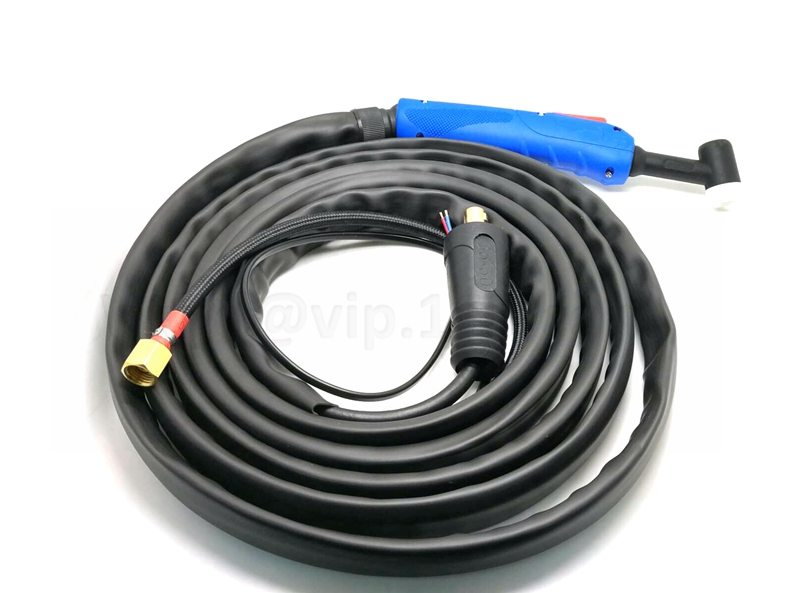
Choose the Right Torch: Select a TIG welding torch (air- or water-cooled) based on amperage (high amps need water cooling) and workspace. A well-designed, ergonomic best TIG welding torch enhances control and comfort.
II. Core Operation: Igniting the Arc & Controlling the Puddle
Skillful manipulation of the torch and filler rod forms the heart of a perfect weld.
Establishing a Stable Arc
Posture & Grip: Hold the TIG torch steadily; brace your elbow/pinkie on the workpiece or support. Keep cables/hoses untangled.
Starting the Arc:
HF (High-Frequency) Start: Most common, minimal workpiece contact. Uses HF to jump the gap.
Lift Start: Touch tungsten to workpiece, then lift to ignite (risk of contamination/sticking).
Arc Length Control: Maintain 1.5-3mm (≈ tungsten diameter) between tip and workpiece. Too short risks contamination; too long causes instability and poor gas coverage.
Forming & Filling the Weld Pool
Preheating & Pool Formation: Pause briefly at the start point to preheat until a shiny, well-defined puddle forms.
Adding Filler Rod:
Steadily feed filler rod into the pool’s leading edge (heated by the arc) with your free hand.
Use a "dip-feed" or gentle continuous feed—avoid plunging large amounts to prevent temperature drops or spatter.
Hold rod at ~15-20° to the workpiece; don’t block the arc or gas flow.
Torch Movement: Observe pool shape/size; move the TIG welding torch steadily along the joint. Use straight drag, slight oscillation (circles/zigzags) to widen beads or control heat input.
Gas Coverage is Critical
Ensure the torch nozzle consistently shields the molten pool and HAZ (post-flow is vital too).
Adjust gas flow (typically 10-20 L/min) based on nozzle size, amps, and drafts. Too low causes oxidation; too high creates turbulence, pulling in air.
III. Finishing: The Final Touch for Perfection
Proper weld termination affects quality and appearance.
Filling the Crater:
Never abruptly stop welding—this causes craters (cracks/sinks). Pause, add a drop of filler, or use the welder’s "Crater Fill" function (current downslope).
Post-Flow Shielding:
Hold the TIG torch in place for 2-5 seconds after extinguishing the arc. Let gas protect the hot weld and tungsten from oxidation.
Post-Weld Inspection & Cleaning:
After cooling, inspect the weld (color, shape, cracks, porosity, undercut). Ideal stainless welds are silver/golden.
Remove oxidation ("sugaring" on stainless) with a stainless brush or pickling paste.
Mastering TIG: From Basics to Excellence
Operating a TIG welding torch demands blending theory with practice. Every step—rigorous safety, meticulous setup, precise arc control, stable puddle management, filler feeding, and flawless finishing—shapes weld quality. Choosing a reliable, well-cooled best TIG welding torch is crucial for control and results.
Whether repairing delicate metalwork or fabricating critical structures, TIG welding delivers excellence. When stepping up to high-volume production, remember: Longren is your trusted TIG welding solutions supplier. We offer high-performance TIG torches and systems to boost your speed and productivity. Contact Longren today and explore our efficiency-engineered tools for professional welding!
Recent News
1.Working principle of tig welding torch
2021-10-132.How to use TIG welding torch and plasma welding torch?
2021-10-283.What are the welding methods of Tig welding torch?
2021-11-184.The Best TIG Welding Torch: A Comprehensive Guide
2024-09-305.Why is the pure tungsten seldom used for TIG welding
2018-09-216.What issues to pay attention to when selecting TIG welding parts
2024-01-15